Configuring Analytics
Prerequisites#
Note: If you have never used Google Analytics before, take a quick look at the beginner series of tutorials.
Make sure you have access to the iQmetrix Google Analytics account. Send email to ITSupport@iqmetrix.com to request access.
Creating a Property for Your App#
Login to Google Analytics and navigate to
Adminusing the sidebar.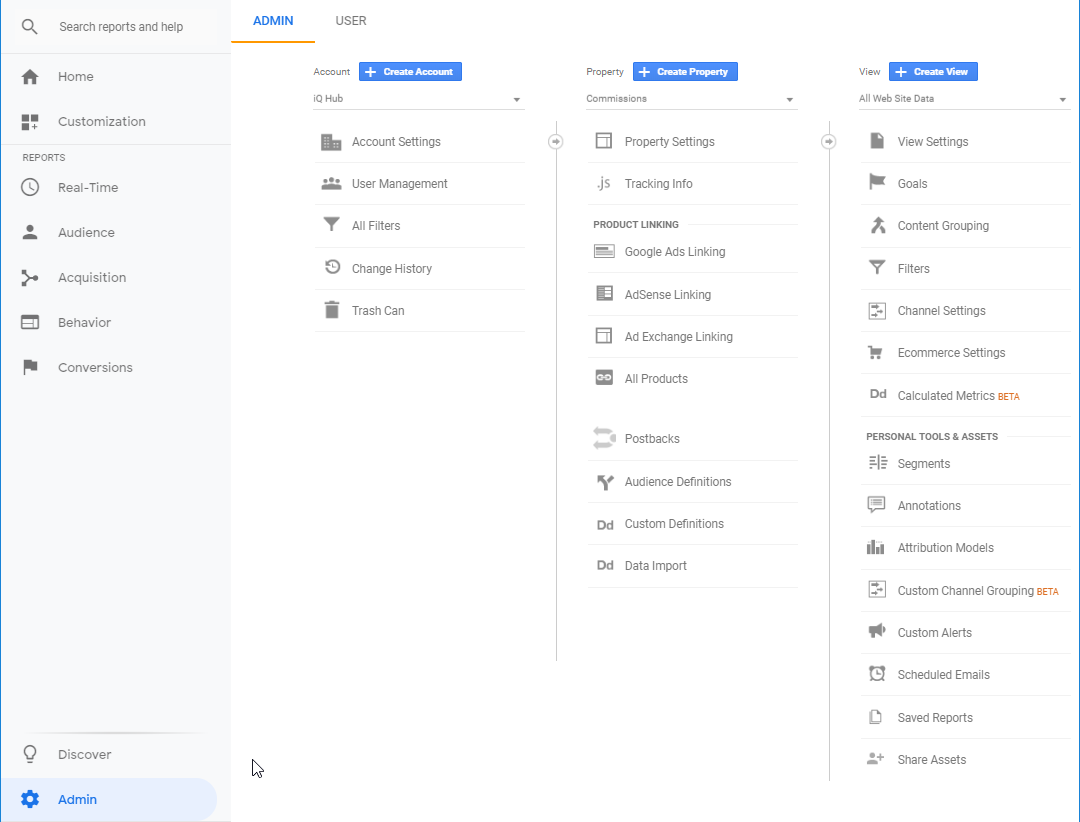
If the Hub app that you want to manage does not already have a Google Analytics account associated with it, you will need to create one:
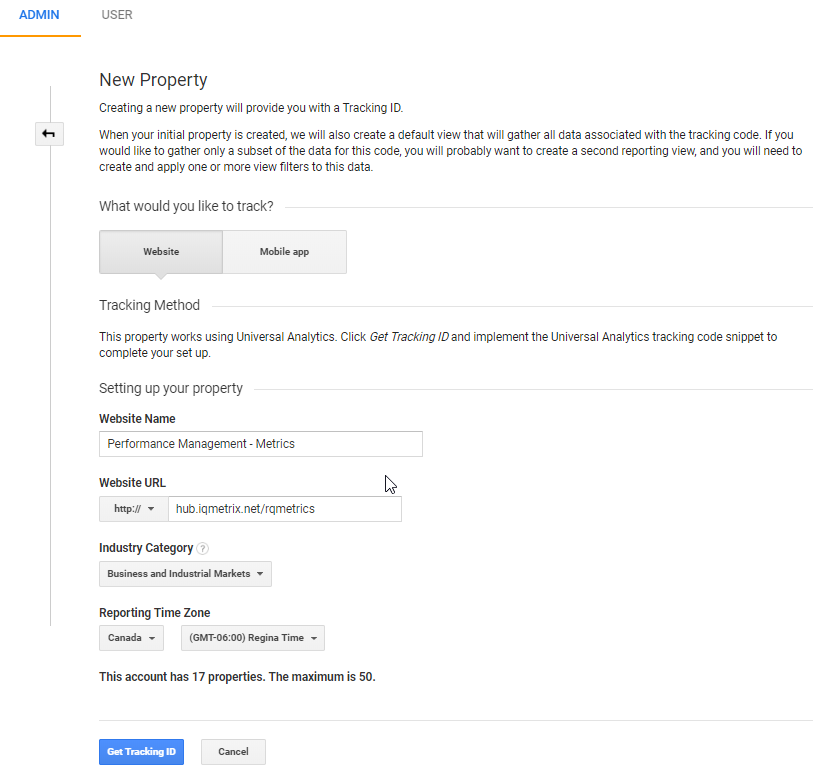
Select
Create Property.Enter your app name in
Website Name.Fill out the other fields as necessary.
Grant permissions to the app team.
Go to
Propertydropdown, and select your app.In the
Propertypanel, selectUser Management.Scroll down to
Add permissions forand add the emails of your app team and choose their level of access.The developers you added should get an email to their Google accounts with information on how to access this Google Analytics account.

Adding User-ID tracking to Your v1 App#
In
app.js, use the tracker’senableUserIdTracking()method.Make sure to send the proper User Context. If you are impersonating another company, consider which id you want to send, iQ or the impersonated company.
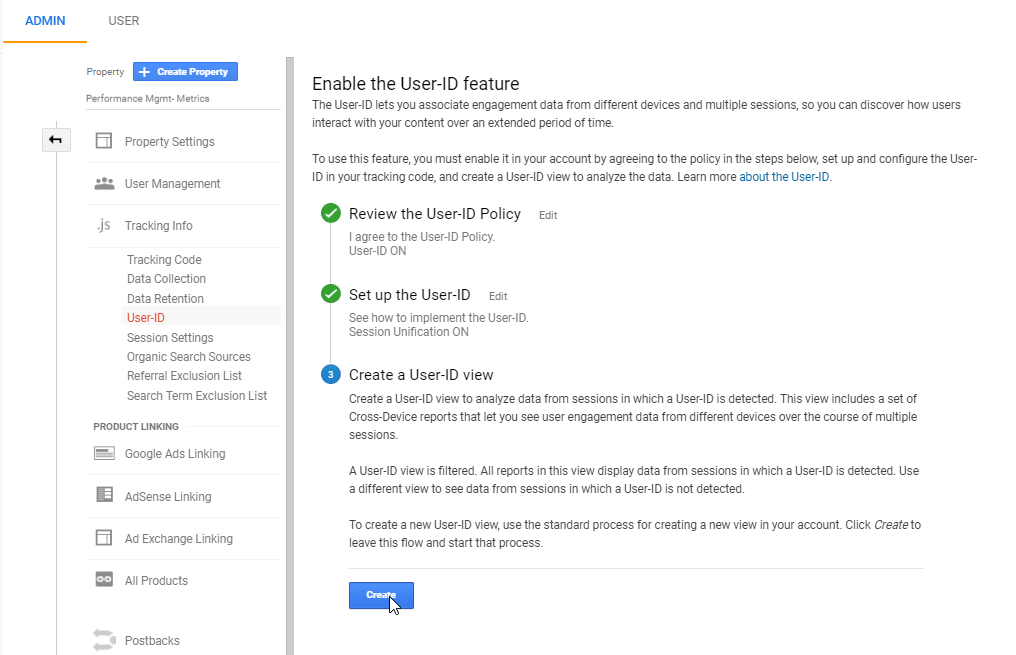
In Google Analytics, turn on User-ID tracking.
Navigate to
Admin>Tracking Info>User-IDFollow the instructions to enable User-ID tracking.
Create a new view.
Eg.
General View.Adding user tracking is similar to adding a filter to the data, the data will be different than that of views without user tracking.
Creating Views#
Filtering Environments#
In Google Analytics, you can create filters to see data from specific environments, such as Integration (hubint) or Production (hub). This is done through creating views.
Select the Propriety you want to modify
Create a new view and choose a name to identify the filter.
Eg.
Commission - ProductionorCommission - Integration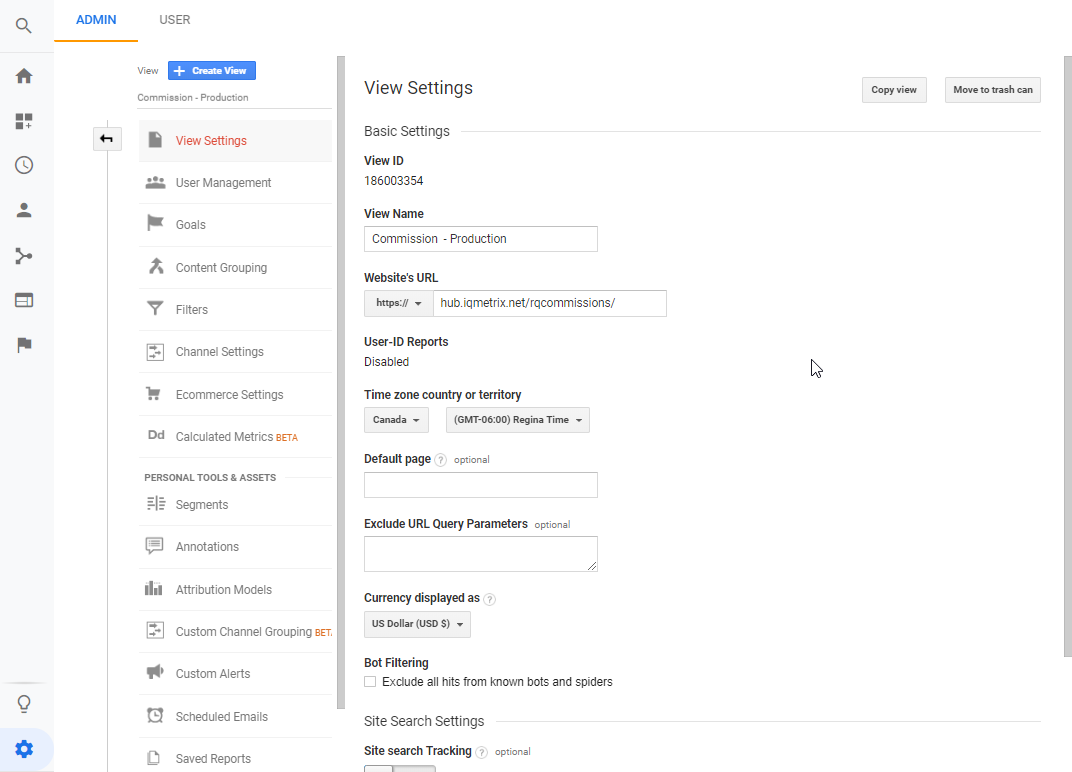
Select
Filters>Add Filter.Select
Apply existing FilterSelect the filter to apply.
Eg.
Hub Production Filter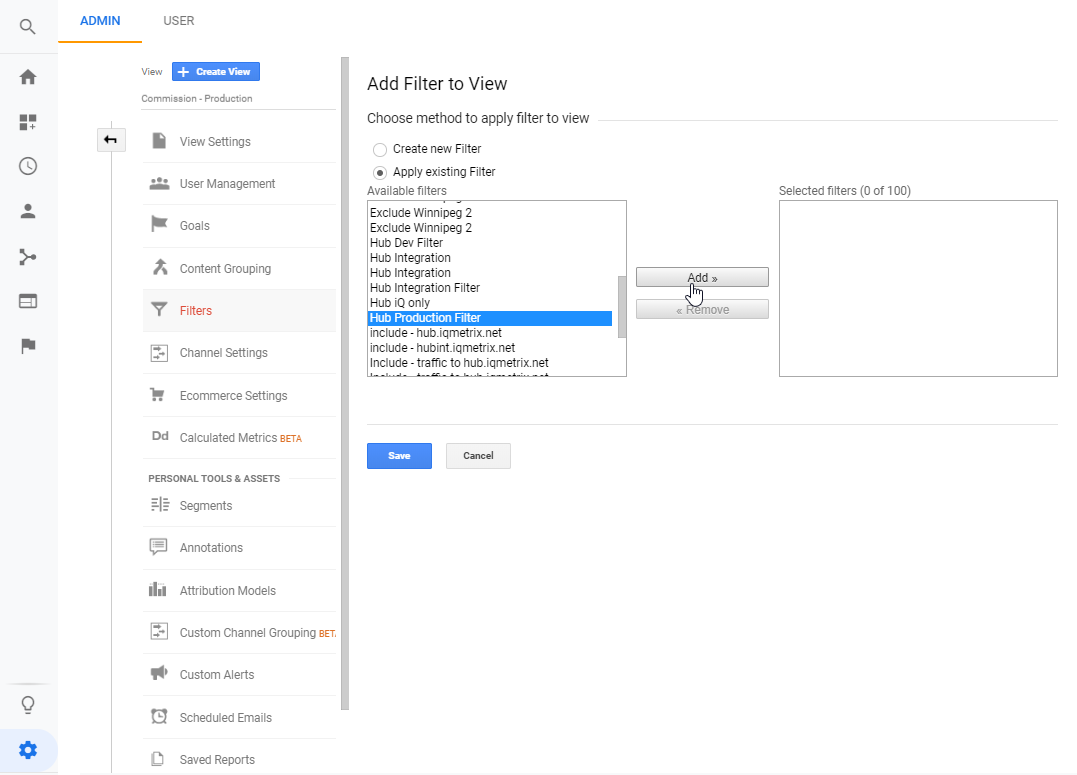
SaveAfter saving, you can view the details of the filter.
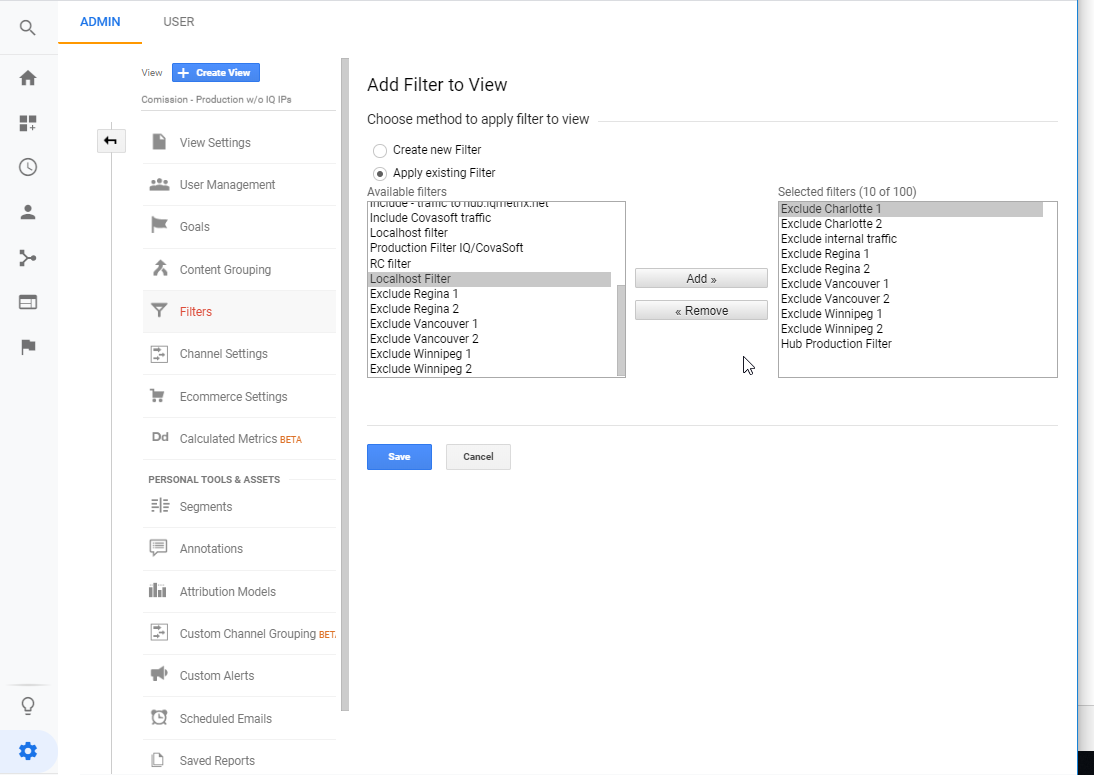
Filtering Internal IPs#
You can filter analytics between internal and external users.
Follow the previous steps to create a new view filtered.
Eg.
Commission - Production w/o IQ IPs.Add the
Hub Productionfilter created above.Add IP Filters for the iQmetrix Offices. You will need to add 2 filters for each office.
Exclude internal trafficExclude Regina 1Exclude Regina 2Exclude Winnipeg 1Exclude Winnipeg 2Exclude Vancouver 1Exclude Vancouver 2Exclude Charlotte 1Exclude Charlotte 2
Adding Google Analytics to Your App#
React#
For React apps, follow the instructions from the @iqmetrix/analytics
When using the @iqmetrix/cra-template, Google Analytics is configured using the default Tracking ID.
Hub V1#
Login to Google Analytics and navigate to
Adminusing the sidebar.Navigate to your app using the
Propertydropdown.Select
Property Settings>Get Tracking IDand copy your Tracking ID.Add the tracking script to your
app.es6.js.Add the HubCommon tracker util with the
Tracking IDtoapp.es6.js.Any files where you would like to track an event, you will need to import the tracker, and use the tracker’s
sendEventmethod. More details